

There are two different jobs people mean when they say "taping a bat," and they need different things.
Re-gripping the handle — your grip is peeling, slick, or worn through, and you want it to feel right again.
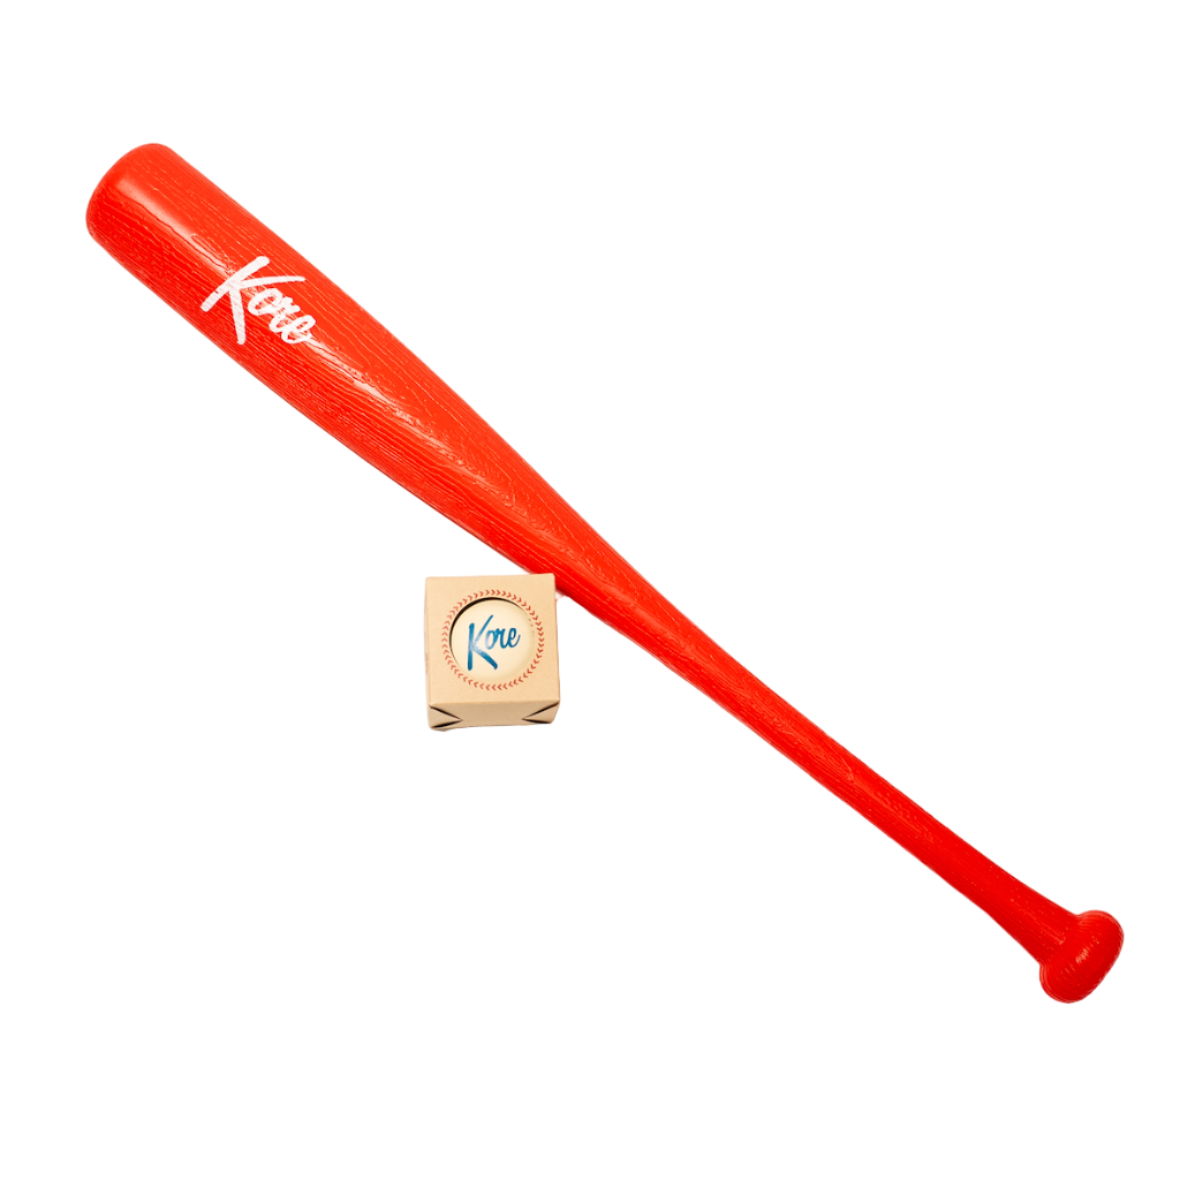
Wrapping the barrel — mostly done on plastic and backyard bats, partly for looks and partly because the wrap adds a layer of reinforcement.
Both use the same two kinds of tape. Here's how to do each.
What tape you need
Athletic tape is cotton, slightly grippy, and a little stretchy. It's what gives you traction. This is your main layer on a handle.
Electrical tape is smooth, glossy, and stretches a lot. It seals ends, adds stripes and accents, and gives you a cleaner finish over the top.
Most good grips are athletic tape underneath with electrical tape over it. You can buy either from us in nine colors, but any hardware store has both.
You'll also want a utility knife or scissors, and a marker.
Part 1: Re-gripping a bat handle
This is for wood and metal bats where the factory grip has worn out.
1. Mark and remove the old grip
Lay the bat down with the handle hanging off the edge of a table. Mark where the old grip ends with a marker so you know where to stop later. Cut along the seam with a utility knife and peel it off.
Careful here — cut through the tape, not into the bat. On a wood bat especially, a deep cut is a real problem.
2. Clean the handle
Old adhesive will still be on there. Scrape what you can and use an adhesive remover or rubbing alcohol for the rest. Skipping this is why new grips slip — fresh tape doesn't stick to old glue.
Let it dry fully.
3. Wrap the athletic tape
Sit down and hold the bat between your knees with the barrel on the floor. You want both hands free.
Start at the knob. Angle the first pass so the tape sits flush against the knob, then spiral upward toward your mark. Overlap each pass by about half the tape's width and pull gently as you go — enough tension to lie flat, not so much that it bunches.
Keep your spacing even. Gaps are where a grip fails first.
4. Go over it with electrical tape
Same spiral, same direction, starting at the knob again. Electrical tape stretches more, so ease up on the tension or you'll get ridges.
This layer is what makes it feel finished and keeps moisture out of the cotton underneath.
5. Seal the ends
One small strip of electrical tape wrapped straight around the top edge, one at the knob. That's what stops the whole thing unraveling in your hands.
How thick should it be?
Personal preference. More layers means more cushion and less sting on a bad day, but you lose some feel. Two layers is a good starting point — add from there if your hands are getting stung.
One rule worth knowing: in most leagues the grip can't extend more than 18 inches from the knob. Check yours before a game if you've wrapped it long.
Part 2: Wrapping a barrel
Different job. You're not doing this for grip — you're doing it because the bat looks better and holds up longer.
This is standard on plastic backyard bats. The wrap spreads out the force of contact across the barrel instead of letting it land on one spot, which helps a plastic bat survive a summer of hard swings. It's why every custom bat we sell comes pre-wrapped.
1. Wipe the barrel down
Tape won't stick to a dusty bat. Quick pass with a damp cloth, let it dry.
2. Pick your base layer
Athletic tape for a matte look with some texture. Electrical tape for a glossy finish. Electrical is easier for beginners because it stretches around the barrel's taper without wrinkling.
3. Wrap from the end cap down
Start at the fat end and work toward the handle. Overlap by about half each pass. The barrel gets narrower as you go, so you'll naturally use less tape per rotation — adjust your angle rather than pulling harder.
4. Add your design
This is the part kids actually care about. A few things that work:
- Stripes — lay a base color, then spiral a second color over it with gaps showing through
- Blocks — wrap three or four inches of one color, switch, repeat
- Splatter — wrap it dark, then flick paint at it once the tape is on
- Two-tone — one color on the barrel, a different one on the handle
There's no wrong answer. Tape peels off if you hate it.
5. Seal the edges
Electrical tape straight around at the top and bottom of the wrap. Barrel tape takes direct impact, so unsealed edges lift fast.
Common mistakes
Pulling too tight. Stretched tape wants to go back to its original length, and it drags your wrap out of position over the next few days.
Not cleaning first. The single most common reason a new wrap fails early.
Overlapping too little. Anything under a third and gaps open up as the tape settles.
Forgetting to seal the ends. Takes ten seconds and it's the difference between a wrap lasting a season and lasting a week.
Doing this with a group
Bat decorating holds a room of kids better than almost any other activity, which is why it works so well at birthday parties and end-of-season banquets. Everyone can do it, nobody's bad at it, and every kid goes home with something they made.
Our Custom Bat Kit has four bats and tape for exactly that. For a full roster, message us about bulk pricing.